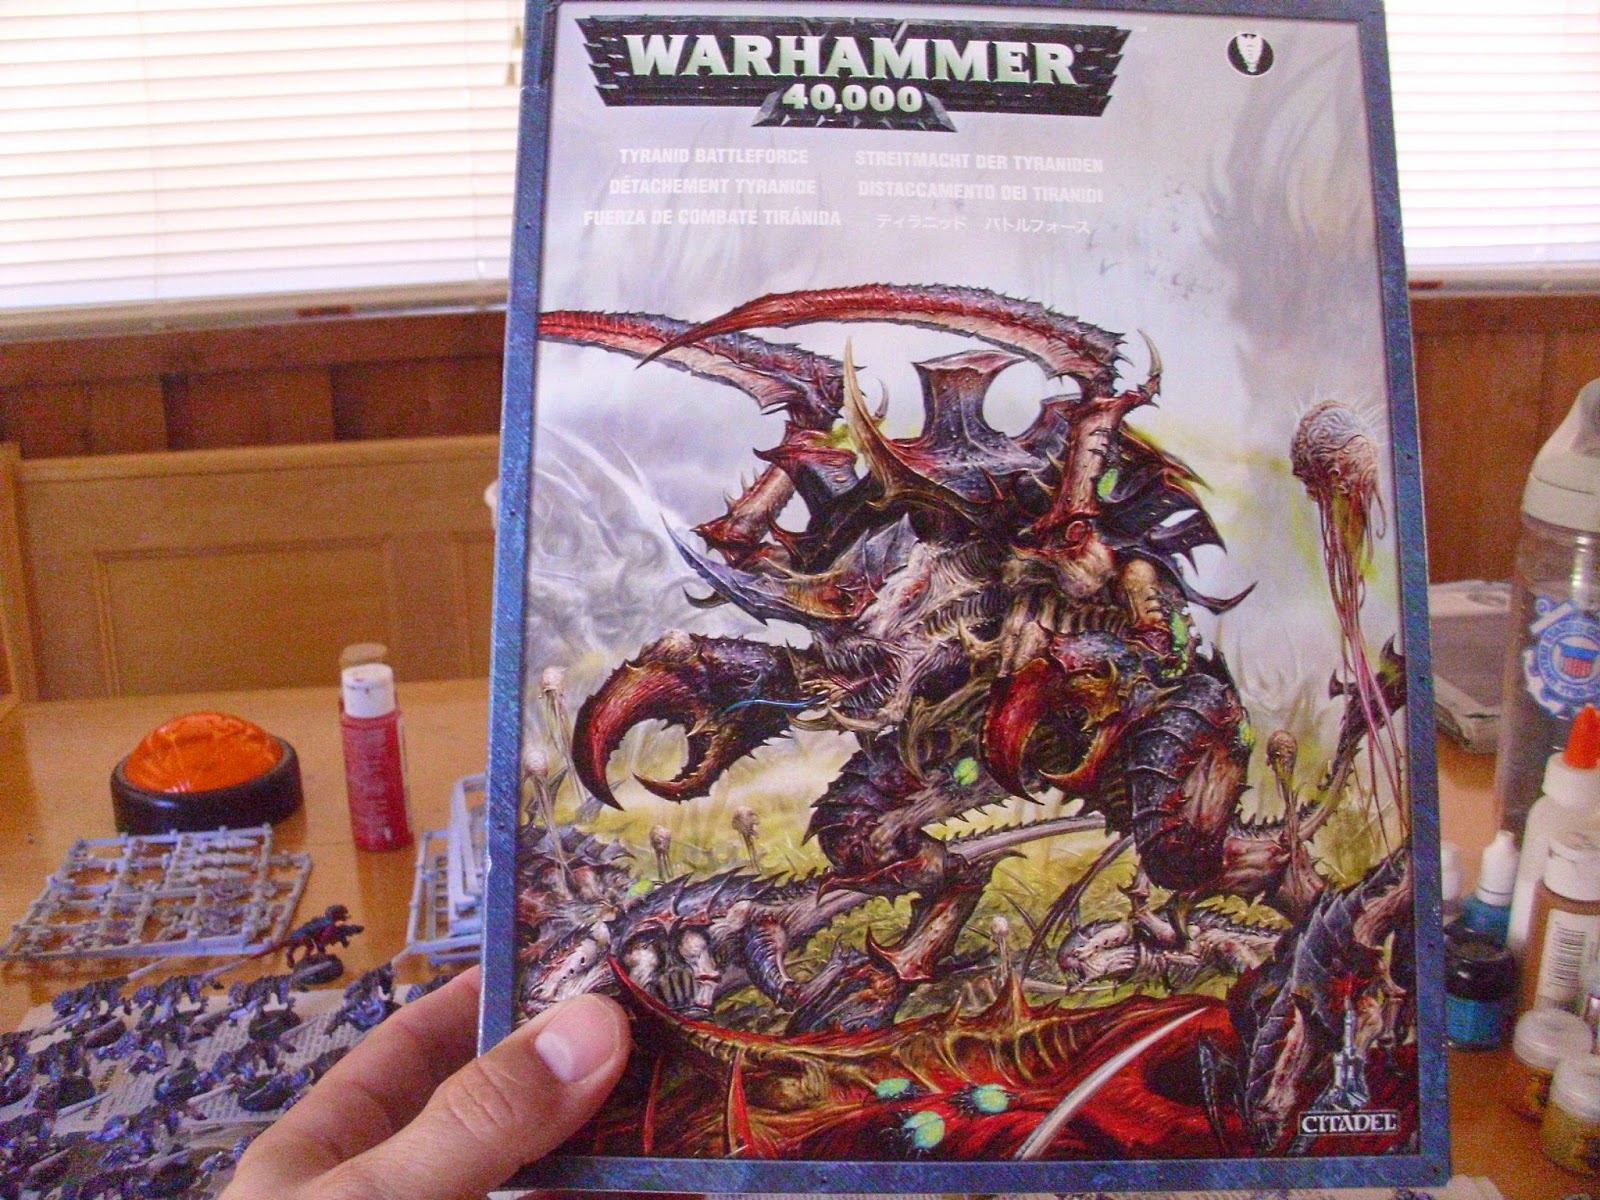
While I don't play Warhammer 40K, I have painted some commission works before, and my son seems to have a thing for Tyrannids. Last Christmas he got the army set and wanted them painted and based.
So I primed all these guys flat white, as I am trying to do a "Leviathan" scheme, as the swarm type is called. (I don't really know, I am just doing what he wants...)
Here are a bunch of them waiting for basing, touch ups etc...
I used a few basic craft paints to do the purple. I never really found a color I liked out of the bottle, so I mixed craft paints together.
For the "wash" areas, I used very watered down dark purple paints and elmers glue (to keep it sticking in the creased areas).
The results came out pretty well.
Here is an arm sprue done in wash.
With that, I over coated the shell areas with full strength dark purple mix paint. It didn't seem to matter if I got the tone exactly right as each mini could have some variation.
For this fellow, I opted for some red ink, and elmer's glue to bring out more of a pink/red tone.
I also specially mounted a few to break up the monotony of the poses. Here is a fellow about to leap off a rock.
I wanted the bases to reflect a planet already decimated, and very desert and arid-like. I tried out Games Workshop's new textured paint.
The Blackfire Earth seems to give you a very "Mars-like" surface. I like the effect and it can even cover unprimed bases! It is thick and may need to be watered down. I have heard of this stuff being dried out in the bottle, so open it up before you buy it to ensure it looks a little bit wet.
I also tried the Argellan Earth technical paints. This stuff actually "crackles" when it dries. I got a pretty good effect with it in the next picture. I had to really layer it on though to get it. I am ok with how it turned out, but think there is a base color combo that would make it really look better.
On a few of the Warrior models I wanted them to have interchangeable arms, so installed magnets in the arms to make them removable. I started with these magnets:
These were from K&J and were around 4 bucks for all these.
I started with my hobby knife, to scratch a hole to start the drill bit.
I then drilled a starter hole to depth with a 1/16 inch drill bit.
The actual magnets are 7/64 inch. And the above magnets fit like a champ!
The mini above has his magnets in place and glued.
You have to go VERY slow with the arms, and clean off the bits as plastic gets fouled in the shanks. Otherwise it will break through the fragile plastic.
Arms in place!
Make sure the polarity of the arms is correct BEFORE you glue it!!!!
After the minis are relatively done, and the ink/paint is dried, paint over the mistakes and over stained areas. Then drybrush the shells and "purple bits".
I used titanium white, my new favorite white for dry brushing.
That's it for now, stay tuned for part 2.
Thanks for looking!


No comments:
Post a Comment
Keep your comments clean please!!!