Showing posts with label 1/700 USCG. Show all posts

Sunday, October 20, 2013

Last call for Containership Photos and my Moebius BSG Viper Kit

So here is the last batch of photos from the Containership/Cutter build. I got asked to post a few more so here they are.


One last pic of me putting together the plexiglass case for the ship.


Lastly here is my Moebius Battlestar Galactica Viper Mark V. It was a great kit, made better by use of Tamiya Weathering powders. I did paint the stripes instead of using the decals, but I found the paint overpowered the colonial symbol, so I put it on the white part of the wings instead. Only true fans would notice hopefully...


Cheers and thanks for stopping by!

Thursday, October 17, 2013

The final update on the containership and display cases!

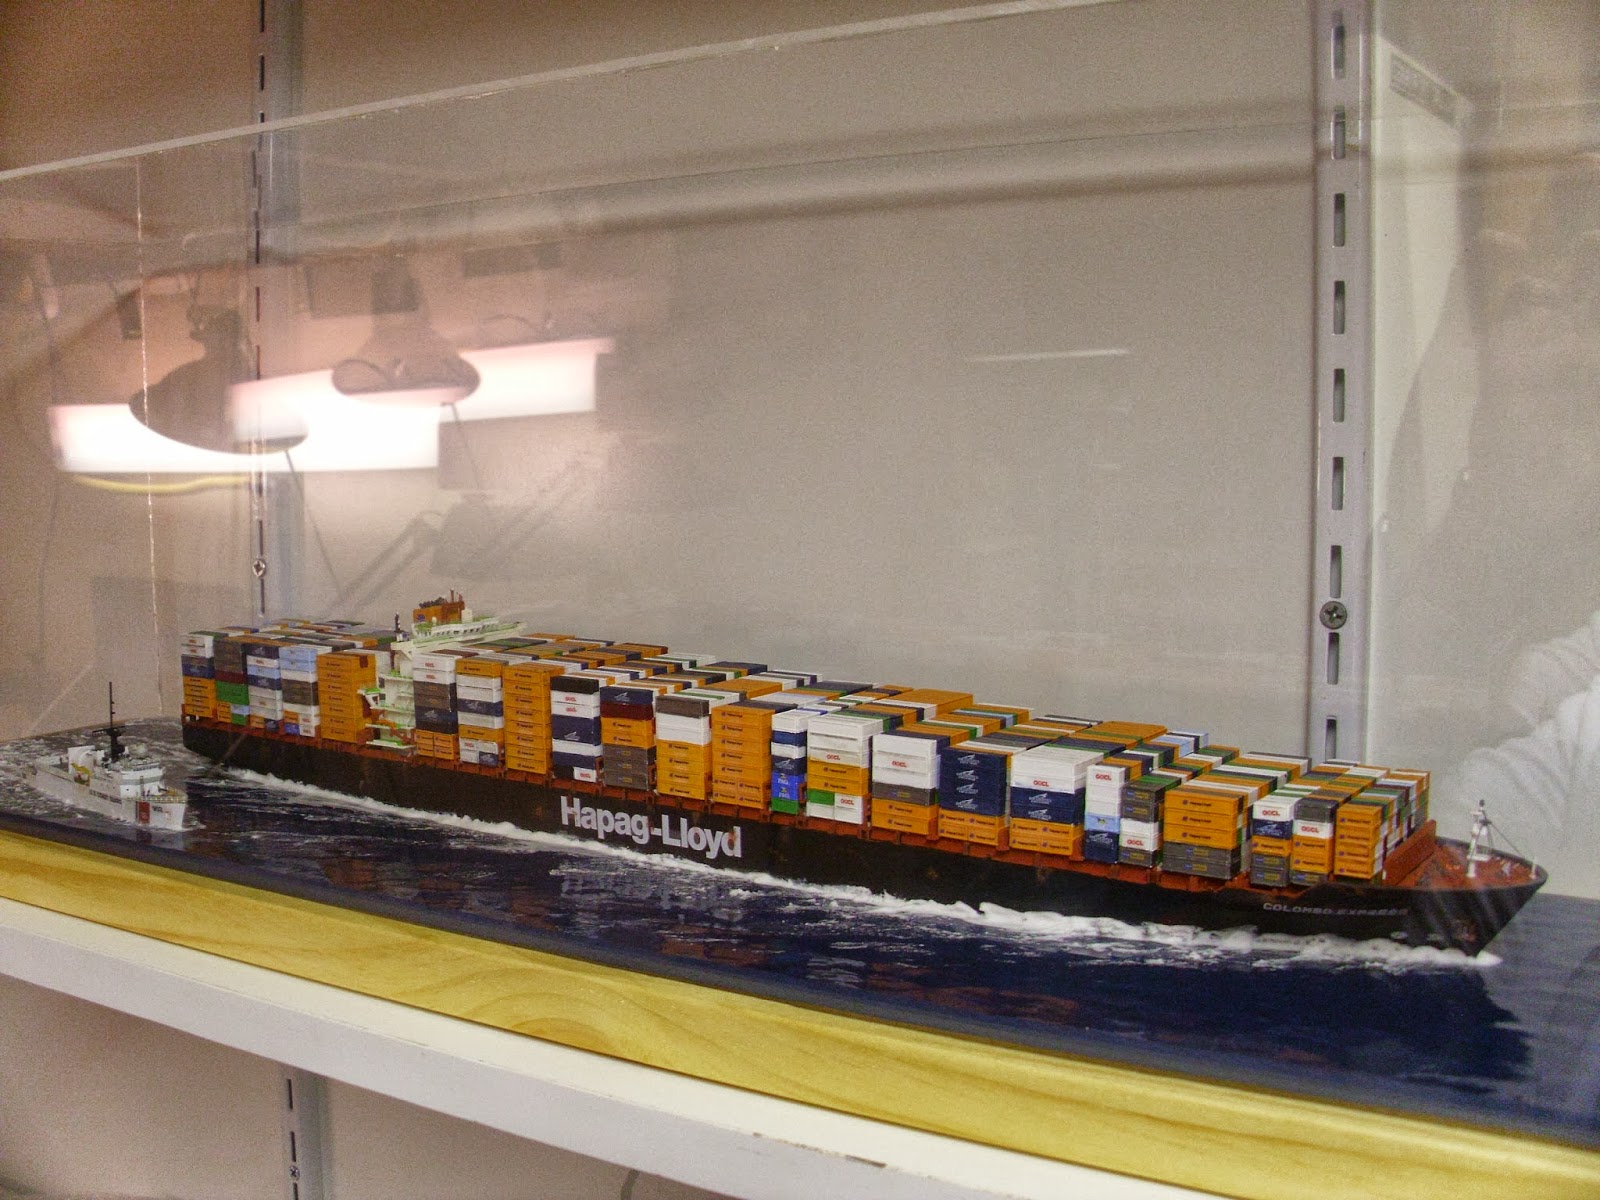
I won't necessarily call it finished, as I have to put some kind of identifier on the display base, but the building portion of both the 270 Cutter and the Colombo Express is done!


The above photo shows the completed cutter. I have not yet added the wake behind it.

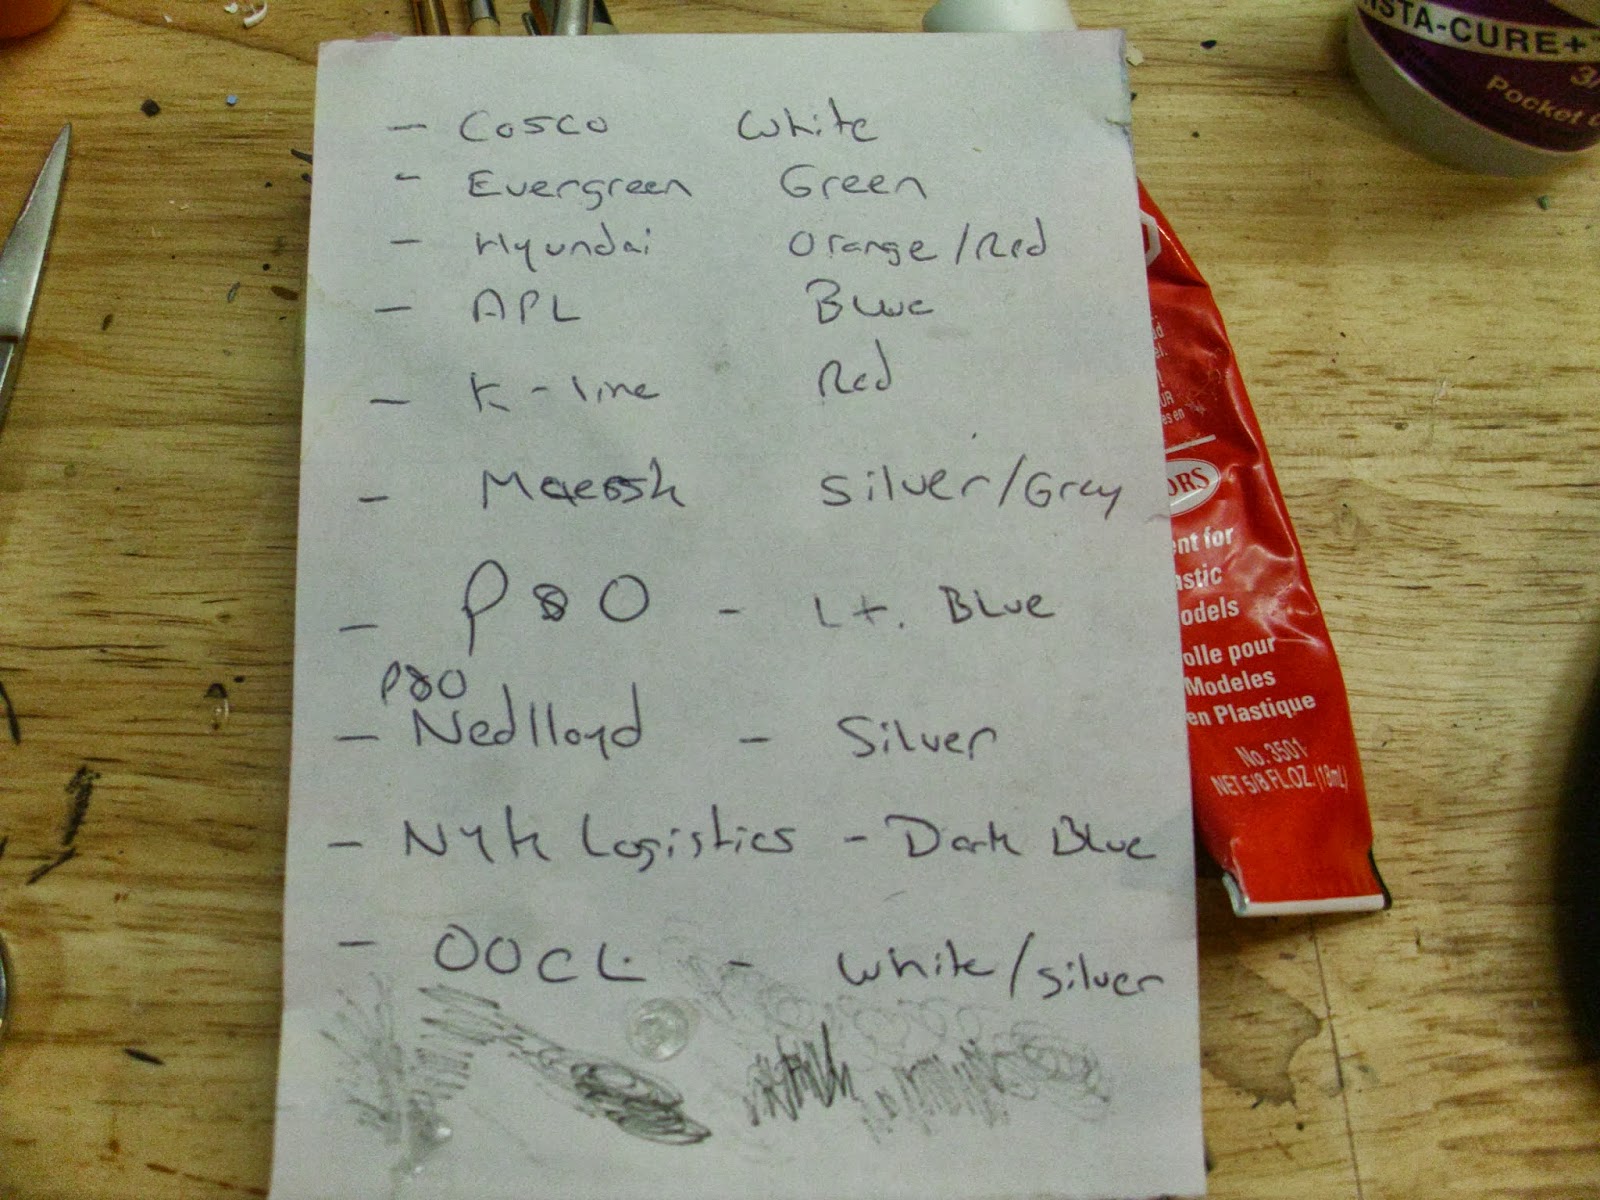
The above photo shows the color schemes of the containers that I added with the extra decals by White Ensign Models. This was a great help in the cutting and application phase.


This is the final photo after I added the wake to the cutter. The wake was done with very wet Plaster.


Here is the side shot of the Express with decals added.


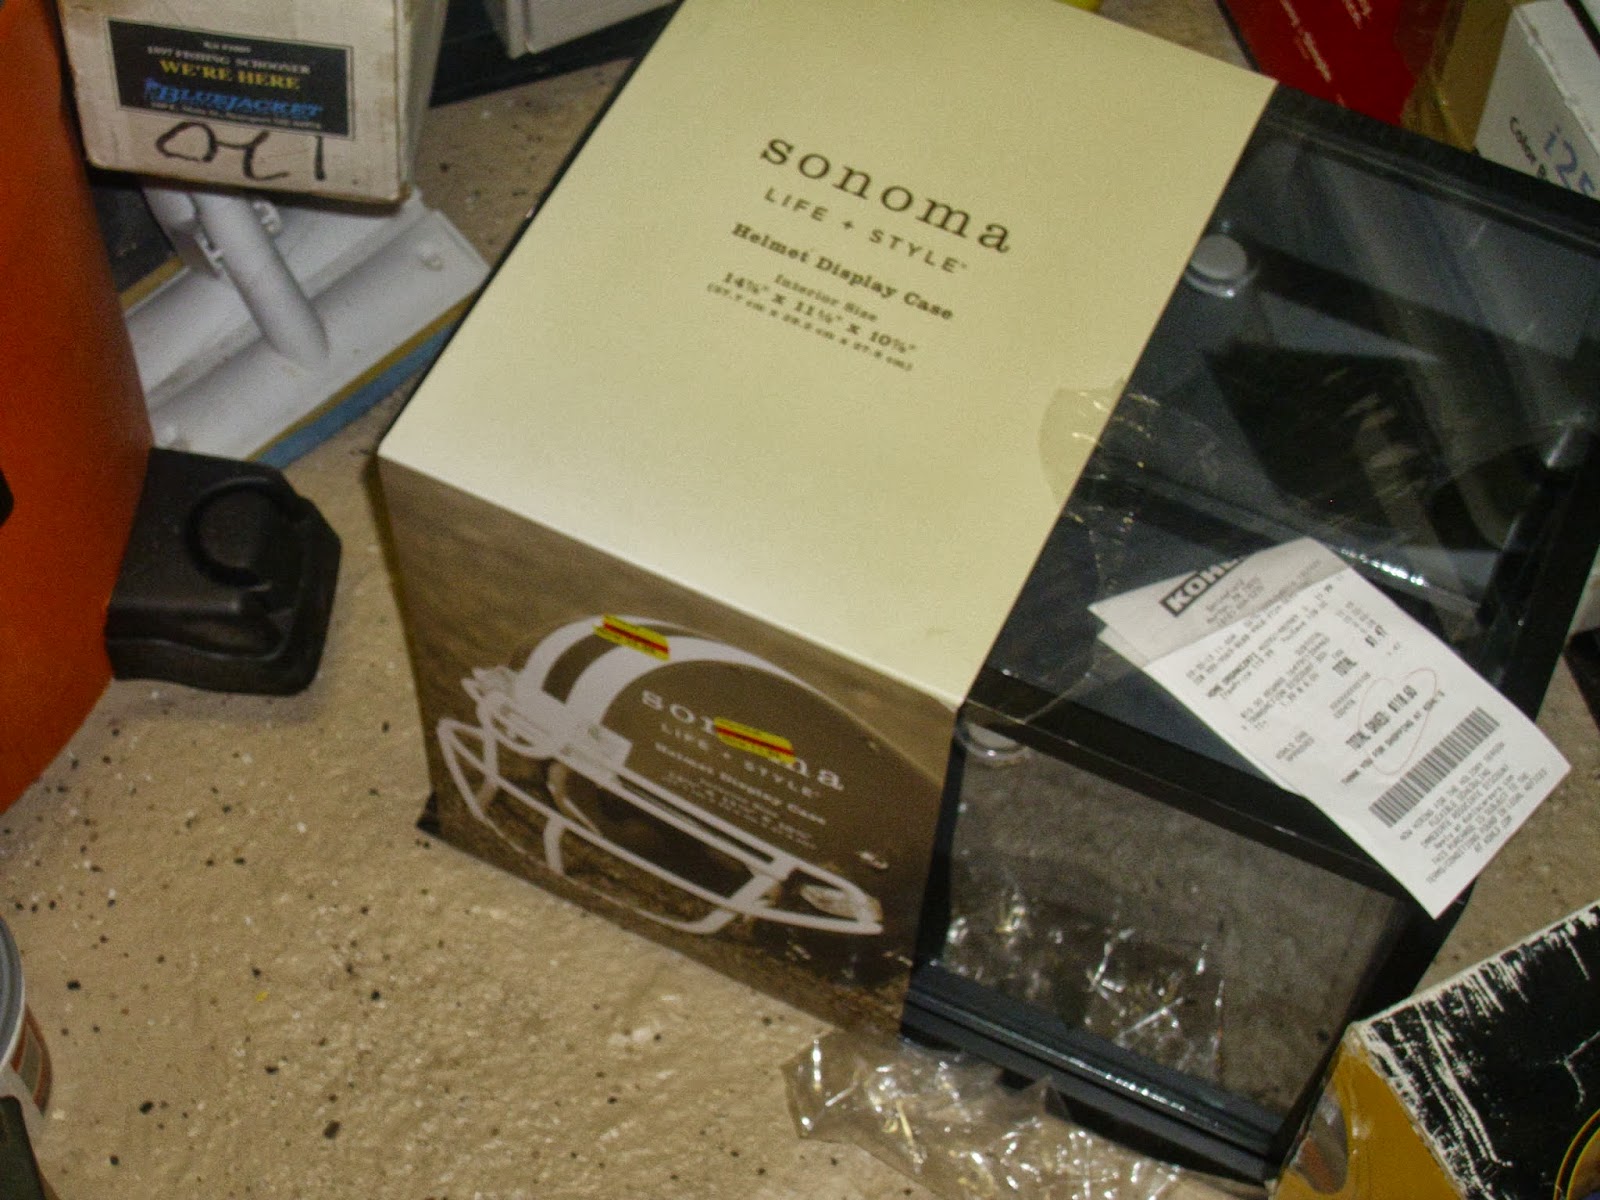
My wife got me a discount display case at Kohls. She heard I needed one for my ship model. She missed the dimensions just a tad. My wife is a coupon queen of epic scale!


YES! That is the total price on the case!!!!
At that cost I will find a model to fill this bad boy!


So I still needed a case and I had to build one. I used my Dremel plunge router attachment and cut into the pine base by using the model base as a template. I had some scrap acrylic sheet and started cutting the sheet to fit. 


If you are cutting acrylic for a case make sure you have a proper corner square!!!


 I used my Avanti blade on my Ryobi cordless saw. This blade worked like champ. Set the depth just below the bottom of your cutting piece. MEASURE multiple times prior to cutting!

Here is the final case. I used plexiglass glue in sparing amounts.


Here is the ship in it's case. I was REALLY glad the model fit after the glue had dried.


One kit down many more to go!!!

Sunday, September 8, 2013

Container Ship Updates and My Resin Crusader

I tend to believe that every person hits a point on a model kit that you need to simply push through. I think I have hit it on this kit. I have STILL not finished the container stack painting. I did however take a look at the alternate decals that I got from Pacific Front/Free Time Hobbies. Here is a close up pic:


I also started painting the USCG Cutter Tampa in it's first stage white primer coat. I put her next to the container ship, cuz I can't help myself!


So while I was contemplating this project, I through a little paint on my medieval Crusader. I started the first coat on his "victim/opponent" and did some acrylics on the ground cover. So far so good. Yes he does look weird with zombie eyes. Washes will fix that!


I also played around with a busted up Stug tank in Flames of War. Since this was scrap and I didn't have a proper barrel for it I decided to make it a flaming objective marker. Here it is with oily smoke made of "chunky" woodland scenics flock.


Not a bad first time modeling smoke.
That is all for now. I will post more when I can. Thanks for looking!


Wednesday, July 31, 2013

Update On The Container Ship

Some very high pixel (sarcasm) pics of the ongoing containership kit!


Note Handrails in place, and containers being painted! I forgot how much I hate 1/700 scale photo etch!!!


Yes, painting all those containers kind of sucks, but at least I don't have to paint ALL the containers. Mostly just the tops and those outboard...


Sunday, July 7, 2013

1/700 Containership Update

Building the 1/700 Scale Containership.

So I wanted a compare and contrast between a USCG Medium Endurance Cutter and a behemoth mid to large size containership. First step in making a waterline kit, is to cut it off at the waterline. This feels totally wrong while your doing it, but the results can be very cool.


I didn't sand the ship at the waterline, I simply painted over the flash created by the saw so that it looked like more waves against the hull. While not complete, it was a kind of cool effect.


The piece of acrylic was a scrap piece that I found at a local plexiglass store. It was the wavy textured kind you see used in bathroom windows. It made for great water effects. The waves were done with watered down drywall patch. This was done before the deck was put on, and actually helps hold the model to the acrylic.


The decks were painted with red umber, and the hull is sprayed on flat black with grimy black touch up.
The kit makes no means to have the containers any other type or kind other than the orange type. Having been on many containerships, I know that they are typically a patchwork of misc. companies and colors. I have started this effect on the rear stack near the lifeboat.


Lastly I have purchased aftermarket rails, and even people to put on the ship. Nothing spruces up a ship model like hand rails.


Here is the overall view of the ship and the hull of the USCG Cutter for profile purposes.


Wednesday, May 22, 2013

New Kits I Acquired....

Like most modelers I have more undone kits than done ones. So even that being the case I went out and got a few more...
Here are the latest editions.

The two new kits per se' are the first non-game items I have had in awhile. I am still finishing up the Imperial Fists Space Marines, but once those guys are done I have my sights set on the following kits:

1/700 scale container ship.
I board these behemoths a few times a month and the scale of them still gets me. For a 1/700 scale kit it has a 1/350 scale size about it!
 
As is my nature, I did not pay full price (45 bucks) I got it for a 20 spot!


As part of what will be a pretty nice compare and contrast, had a 1/700 resin medium endurance Coast Guard Cutter. This was the class of ship I was on, and I thought it would make a very cool size compare to the container ship.
Stay tuned for the build on this one.


I got this kit on Ebay at a pretty cheap price. I really like the 120mm scale as it offers a good amount of detail without seeming too small. These kits can stand on their own as a model subject. I liked the dead Moor on the base, and liked the idea of painting some chain mail. I wanted to test out the fit of the kit with a lexan tube I got to put this kit in.

The base was some round stock I got at an arts and crafts store, and directly under the model base is some art foam which holds the tube in place. This is the first time I have attempted this type of display and I am pretty stoked.

Here is a picture of the primed base with foam.


Thats it for now. See next weeks blog for the conclusion of the Imperial Fists!