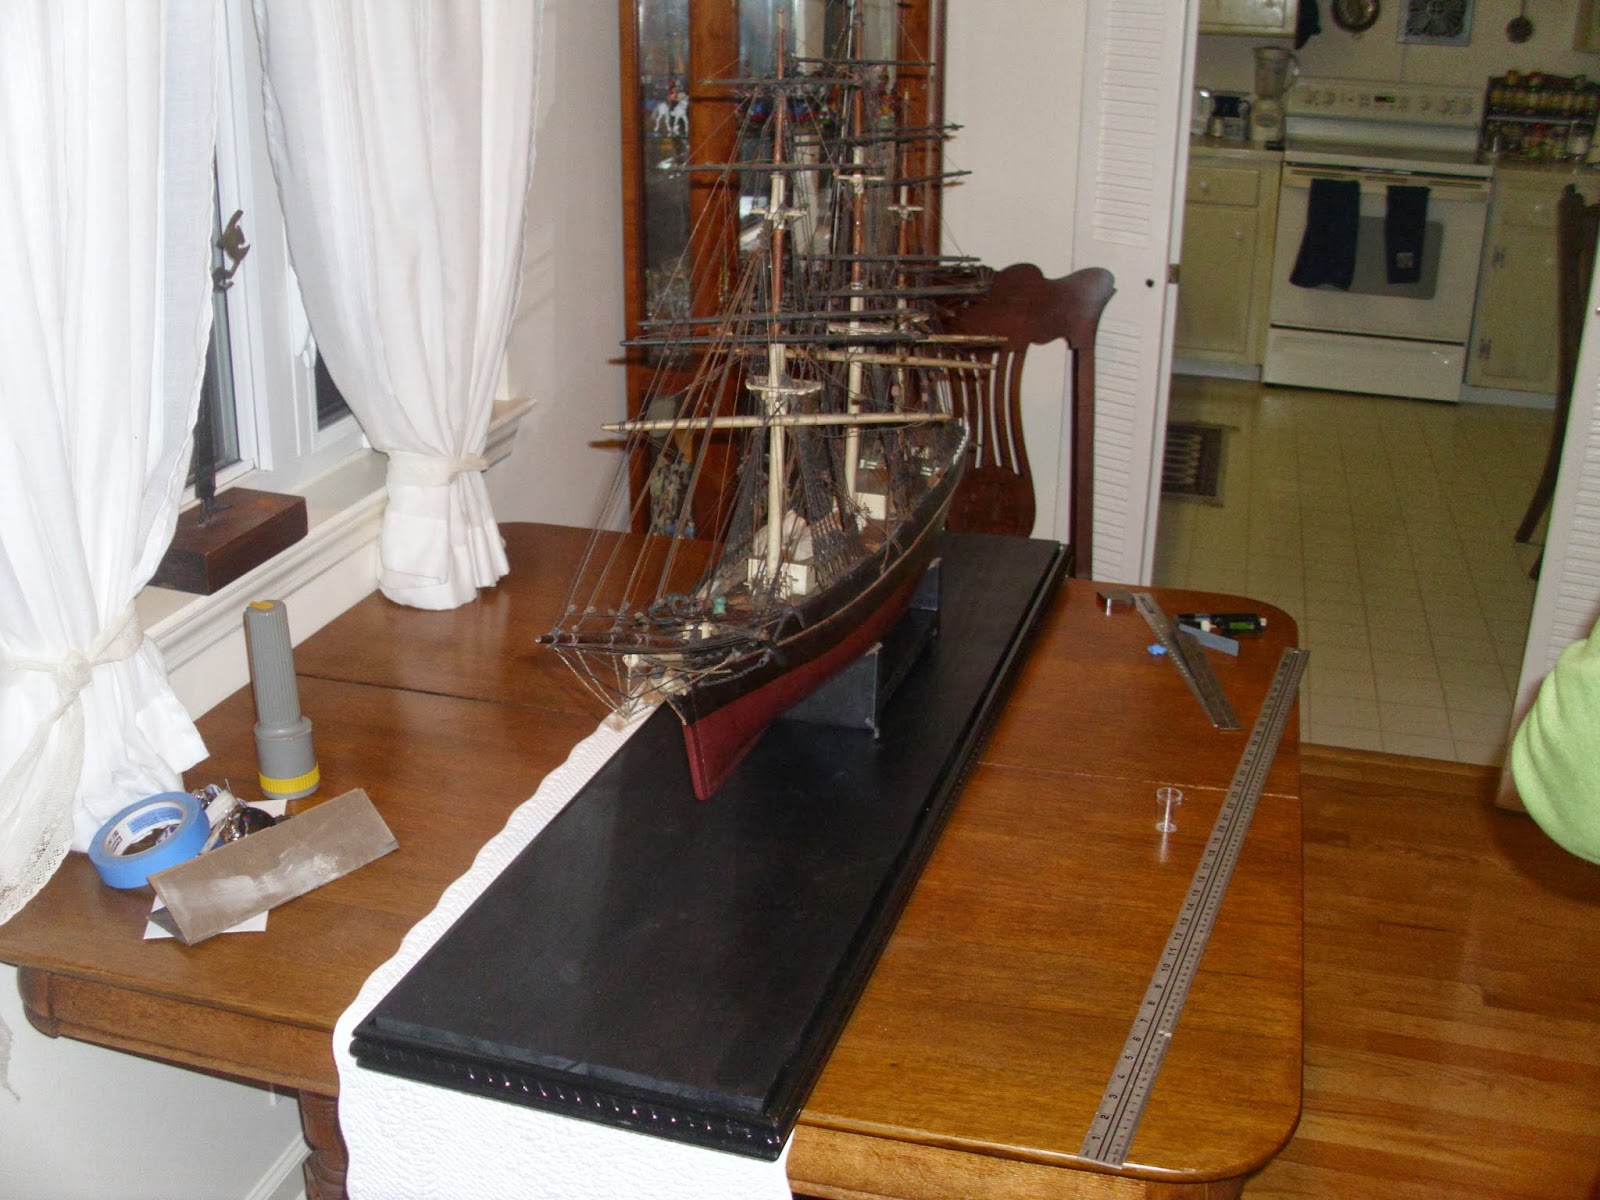
So I decided on a very flat base with the inner base material holding the case in place, and the outer trim holding the case on the outside. I used flat stock 2inch x 1inch x 6 foot pine boards to make a base frame just a smidge larger than the interior board which I made of 18 inch pine shelving cut down to 12 inches.
I then drilled 5/8 inch holes sunk about 3/4 of an inch on the inside of the pine frames to allow smaller wood screws to hold the outside molding in place. Smaller 1/8 inch pilot holes were drilled to keep the pine from splitting. After several test fits, the molding was also wood glued for extra strength. See pic below
Leaving enough of a lip edge on the bottom for a thin veneer piece of plywood, this allowed me to be able to drill into the cradle and secure it from the bottom. The plywood is held in place by countersunk brass screws.
Side view of the molding after attachment:
Once the case was test fit, (several times!) I was able to add several coats of gloss black to the outside trim, and to coat the inside board with flat black. The trim was then further coated with several coats of polyurethane. The inside board was coated with acrylic sealer. once it was test measured with the case on top the inside board was screwed in from the bottom while resting on saw horses. (Lots of sawdust in the eyes on that one...wear eye protection!)
The real moment of truth, and one which made Tom mighty nervous (and me too) was when we finally got together to see if the ship actually fit in the case.
Once we test fit the ship, we finally breathed a sigh of relief! It fit! Now all that was left to do was to sink screws into the cradle from the bottom, and to mount the ship.
My wife Joanne wiped down the inside of the case with plexiglass cleaner, and removed the inside film. Tom and I put six screws into the base, and then fit up the bottom plywood to cover the framing on the underside. We breathed a sigh of relief again when the cradle fit perfect.
The Sark on her new home!
Tom and I doing a final fit to the base. It slid in like a dream!
I really wanted to see the ship with the film taken off the case, but we thought it would be better to let the owner do that, as they still had to transport it. I was very proud and Tom's wife Alice seemed to have second thoughts about giving the ship back now!
I may try and do a quick drawing of how I did the base if there is enough interest.
Thanks for looking!


No comments:
Post a Comment
Keep your comments clean please!!!